Installing Borshevik
Installing asks very few questions. You need a USB drive of at least 8 GB and the computer you are installing on.
1. Download the image
Take the NVIDIA image if your computer has an NVIDIA graphics card, and the standard one otherwise — for AMD and Intel graphics.
861a5ed81cfa0dc1b4dd55ed966406f020e75f502871c0ad537090288eef4cd8
4fe41ab91f7fe4817146c3c1170a14ec8cddb99cecf6f2942fd3f7734ea971a6
2. Write it to a USB drive
Install Fedora Media Writer:
Open it, choose Select .iso file, pick the image you downloaded and the USB drive, and write. Everything on the USB drive is erased.
3. Boot from the USB drive
Plug the drive into the computer, turn it on and open the boot menu — usually with F12, F11, F8 or Esc right after power-on, depending on the manufacturer — and choose the USB drive. We recommend having Secure Boot on in the computer's firmware settings: then only signed software can start before the system, so nothing can quietly slip into the boot.
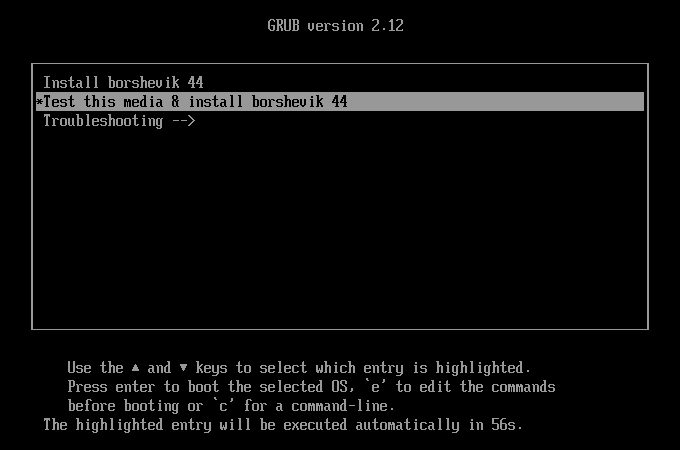
In the menu that opens, leave Test this media & install borshevik 44: it checks the USB drive for errors, then starts the installer. It is chosen by itself in a minute.
4. Install
The installer asks only for the disk and the encryption passphrase. Your user, its password and the time zone are asked for on the first start. The whole way from the installer to the desktop:
What to know on the way:
- The whole disk is erased. Make sure nothing you need is left on it.
- Encryption — we recommend turning it on. Check Encrypt my data and set a passphrase: it is asked for every time the computer starts. A laptop is easily lost or left unattended, and an encrypted disk cannot be read without the passphrase. Encryption can only be turned on while installing — later it takes a reinstall. Type the passphrase in the keyboard layout the installer shows next to it: at start-up only that one is available.
- When the installation finishes, press Reboot System and remove the USB drive.
- On the first start, type the encryption passphrase and go through a short setup: location services, the time zone, your name and password. This user is the computer's administrator.
5. NVIDIA image with Secure Boot on
Right after the encryption passphrase, before the setup, the boot screen says the NVIDIA driver's key must be confirmed, and in 10 seconds the computer restarts into a blue screen (R restarts right away, S puts it off until the next start). There, with the arrow keys and Enter — the mouse does not work on it — choose Enroll MOK, then Continue, Yes, type the password borshevik and choose Reboot. This lets the NVIDIA driver load under Secure Boot, and happens only once.
6. The App Manager
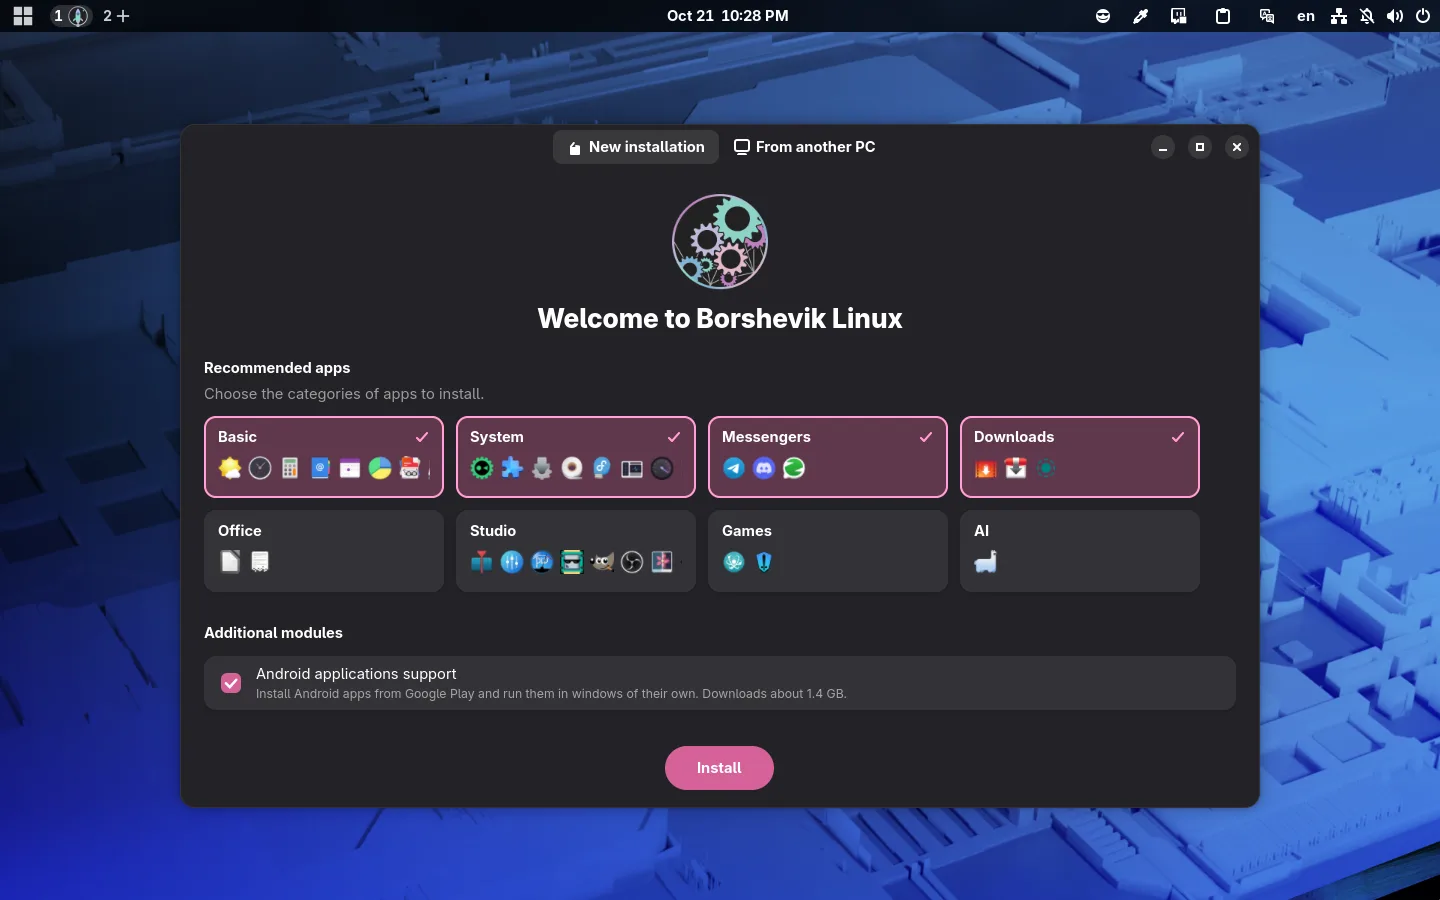
It opens by itself on your first login — GNOME also offers a welcome tour, which you can skip. In the App Manager, check the categories of apps you want, turn on Android support if you like, and press Install.
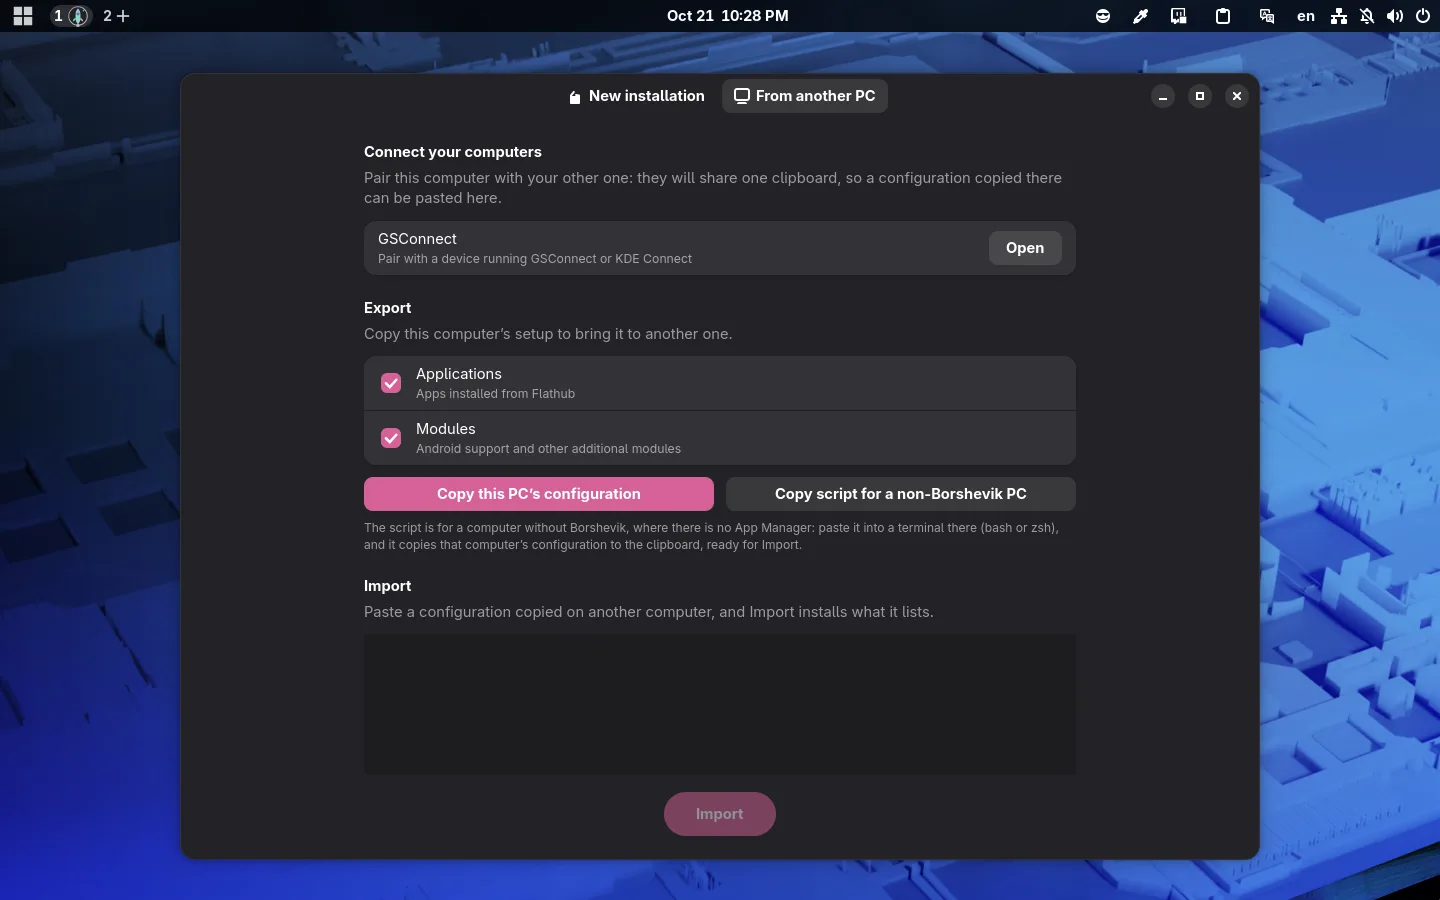
Moving from another computer? Open the From another PC tab and paste the configuration you copied there: the same apps get installed.